|
Chapter 5 : Airway TechniquesIt is imperative to know the proper usage of the equipment and techniques necessary for the management of various cardiac problems and other medical emergencies. It is important to understand the head-tilt chin-lift maneuver for improving the patient’s airway ventilation. If person is choking: Look for foreign object and remove if you see it. If not and patient is in respiratory arrest, check for foreign object whenever you are giving rescue breaths. If no foreign object seen, continue CPR. Airway Techniques Video:Basic Airway Tools and TechniquesOropharyngeal Airway (OPA): used in patients whose airway might be obstructed by the tongue or relaxed upper airway muscles. This device is only used in unconscious patients, but not in conscious or semiconscious patients where it could stimulate gagging or vomiting.
Note: Use appropirate size for the OPA. OPAs that are too big will obstruct the larynx or may cause trauma. OPAs that are too small may push the tongue back and obstruct the airway. Nasopharyngeal airway (NPA): used as an alternative to OPAs and can be used in conscious or semiconscious patients. NPAs are usually inserted when inserting OPAs is difficult or dangerous.
Note: Use appropirate size for the NPA. Wrong size NPAs can go to the esophagus and cause gastric inflation. Be careful when inserting the airway as it can irritate the mucosa or lacerate the tissue. Suctioning helps maintain a patient’s airway by removing secretions, blood or vomit.
Learning Outcomes:You have completed Course V. Now you should be able to:
|
It is imperative to know the proper usage of the equipment and techniques necessary for the management of various cardiac problems and other medical emergencies. It is important to understand the head-tilt chin-lift maneuver for improving the patient’s airway ventilation. If person is choking: Look for foreign object and remove if you see it. If not and patient is in respiratory arrest, check for foreign object whenever you are giving rescue breaths. If no foreign object seen, continue CPR.
Oropharyngeal Airway (OPA): used in patients whose airway might be obstructed by the tongue or relaxed upper airway muscles. This device is only used in unconscious patients, but not in conscious or semiconscious patients where it could stimulate gagging or vomiting.
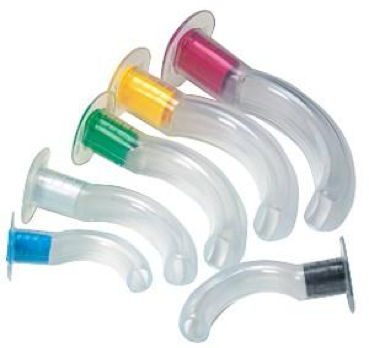
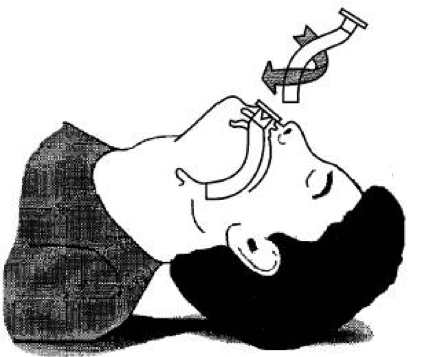
Note: Use appropirate size for the OPA. OPAs that are too big will obstruct the larynx or may cause trauma. OPAs that are too small may push the tongue back and obstruct the airway.
Nasopharyngeal airway (NPA): used as an alternative to OPAs and can be used in conscious or semiconscious patients. NPAs are usually inserted when inserting OPAs is difficult or dangerous.
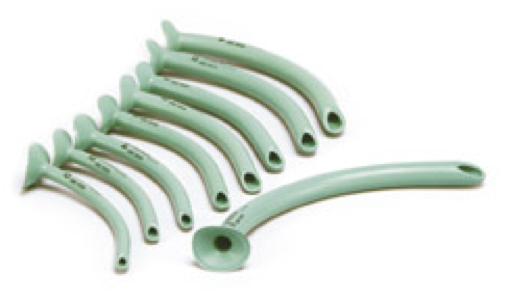
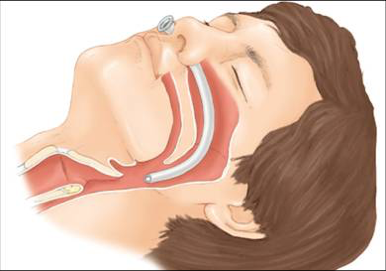
Note: Use appropirate size for the NPA. Wrong size NPAs can go to the esophagus and cause gastric inflation. Be careful when inserting the airway as it can irritate the mucosa or lacerate the tissue.
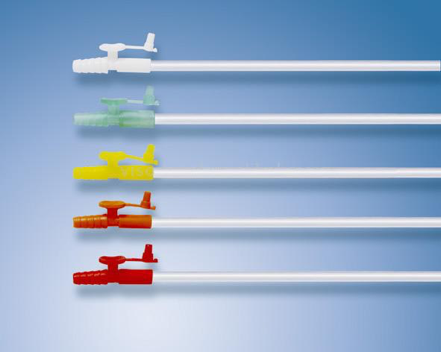
Suctioning helps maintain a patient’s airway by removing secretions, blood or vomit.

You have completed Course V. Now you should be able to:
Recognize the different airway devices